Back to Art Docent Home

Fused Glass 2023 PDF

(PPT is on the thumb drive)

Prepare students for taking home their projects by asking them to bring in padded envelopes from online shopping purchases at least a month prior to lesson date.  This saves on the budget for packing materials when sending projects home. 

The following information is to educate the Art Docents who are leading the Fused Glass projects

About Glass -

Glass is an amorphous solid. It does not have crystals, it is actually a liquid that is hard at room temperature.

Glass naturally wants to be 6mm thick.  If layering glass, use glass that is 2mm thick and you can't go higher than 3 layers. 

If 3rd layer doesn't completely cover the bottom 2 layers, it will warp a little on the sides as it pulls up the shorter layers to become 6mm thick.

If you have more than 3 layers, the glass will spread out (widen) to reduce its height to get to 6mm thick.   

Its okay, to have 2.5 layers of glass (where the 3rd layer doesn't completely cover the 2nd layer) plus Millefiori, stringers and noodles as accents.

Types

  • Cold glass\ Stained glass - precision cut pieces held together with solder
  • Warm glass\ Fused glass- glass with common Coe melted in kiln to form a single piece, often slumped
  • Hot glass\ Glassblowing- molten glass blown, hammered and rolled into forms
  • Float glass- glass made by pouring molten glass into a bath of molten tin. This is how our perfect, clear window glass is made.

Coefficient of expansion (COE)

  • Measurement of how much glass expands and contracts when heated and cooled.
  • Only fuse with glass that has compatible COE or is the same COE

Transparency

  • Transparent - light shines through
  • Opaque\ opalescent (opals)- no light comes through
  • Mixed - both in one sheet

Forms

  • Sheets - large sheets of single type, most fused glass is purchased this way
  • Mosaics - cut pieces in regular shapes and sizes
  • Rods - cylindrical, pencil thick glass, nip off bits for dots
  • Millefiori – decorative rods, when cut off bits, looks like flowers, animals, etc.
  • Noodles - fettuccine like strands of glass, nip to length
  • Stringers - thin strands, like Angel hair pasta, can be broken by hand or with nippers
  • Frit - ground glass in various sizes, sprinkle and use glue over top
  • Pebbles - preformed drops of glass
  • Dichroic- glass with surface metallic surface treatment that reflects one color while it transmits another. It looks different at different angles.

Surface treatments

  • Iridescent - coating on glass that creates a rainbow effect - BURNS OFF IN THE KILN UNLESS YOU PUT KILN PAPER OVER THE IRIDESCENT AREAS.
  • Dichroic - coating on glass that reflects one color while it transmits another it looks different at different angles - HAS A BLACK SIDE AND A METALLIC SIDE.  DOES NOT BURN OFF IN KILN.  VERY EXPENSIVE!!!!!!!

Glass Manufacturers

  • Bullseye COE 90
  • Oceanside Compatible COE 96 (Formerly known as Spectrum 96)
  • Etsy.com for various makers of MILLEFIORI (if using Millefiori, plan ahead, can take up to 3 months to deliver from some suppliers over seas)

Inclusions\ Additions

Any material encapsulated between two layers of glass.

  • Metal - always use foil or leaf thickness (20, 22 gauge) so that glass will fuse around it
    • Copper
    • Brass
    • Gold
    • fine silver
  • Mica - Mix with enamel and paint on. Can be used on top or between layers of glass.
  • Glaze - can be used to paint between layers of glass or on top, color will differ somewhat from normal glaze color.

Fusing process

  • Heating- temperature increases from room temperature to final temperature.
    • Set the lowest kiln shelf two inches below the kilns thermostat coupler.
    • Stack additional shelf or shelves leaving 2 rows of heat coils between each shelf
  • Soaking - where the temperature is held at a given point for a period of time
  • Cooling - temperature falls from highest point to annealing range
  • Annealing - critical temperature soak to allow glass to de-stress before final cool down
  • Cooling to room temperature - do not open the kiln until it is done.  Glass does not like temperature shock

Basic tools / Supplies

  • Glass, noodles, rods, stringers (all with the same COE)
  • Safety glasses or reading glasses
  • Glass cutter
  • Cutting oil for glass cutters
  • Running pliers
  • Grozier/breaking pliers
  • Nippers (tile cutters)
  • Fine bristled hand broom/brush (for sweeping glass shards off work surface)
  • Covered work surface
  • Lightweight garden gloves to wear while cutting glass
  • Mist spray bottle with isopropyl alcohol
  • Microfiber towel (to use with spray bottle & rubbing alcohol to wipe off cutting oil and fingerprints from glass)
  • Water bucket (to rinse off kiln paper dust from glass projects coming out of the kiln)
  • 5 oz to go cups with lids (to store cut glass pieces for a class)


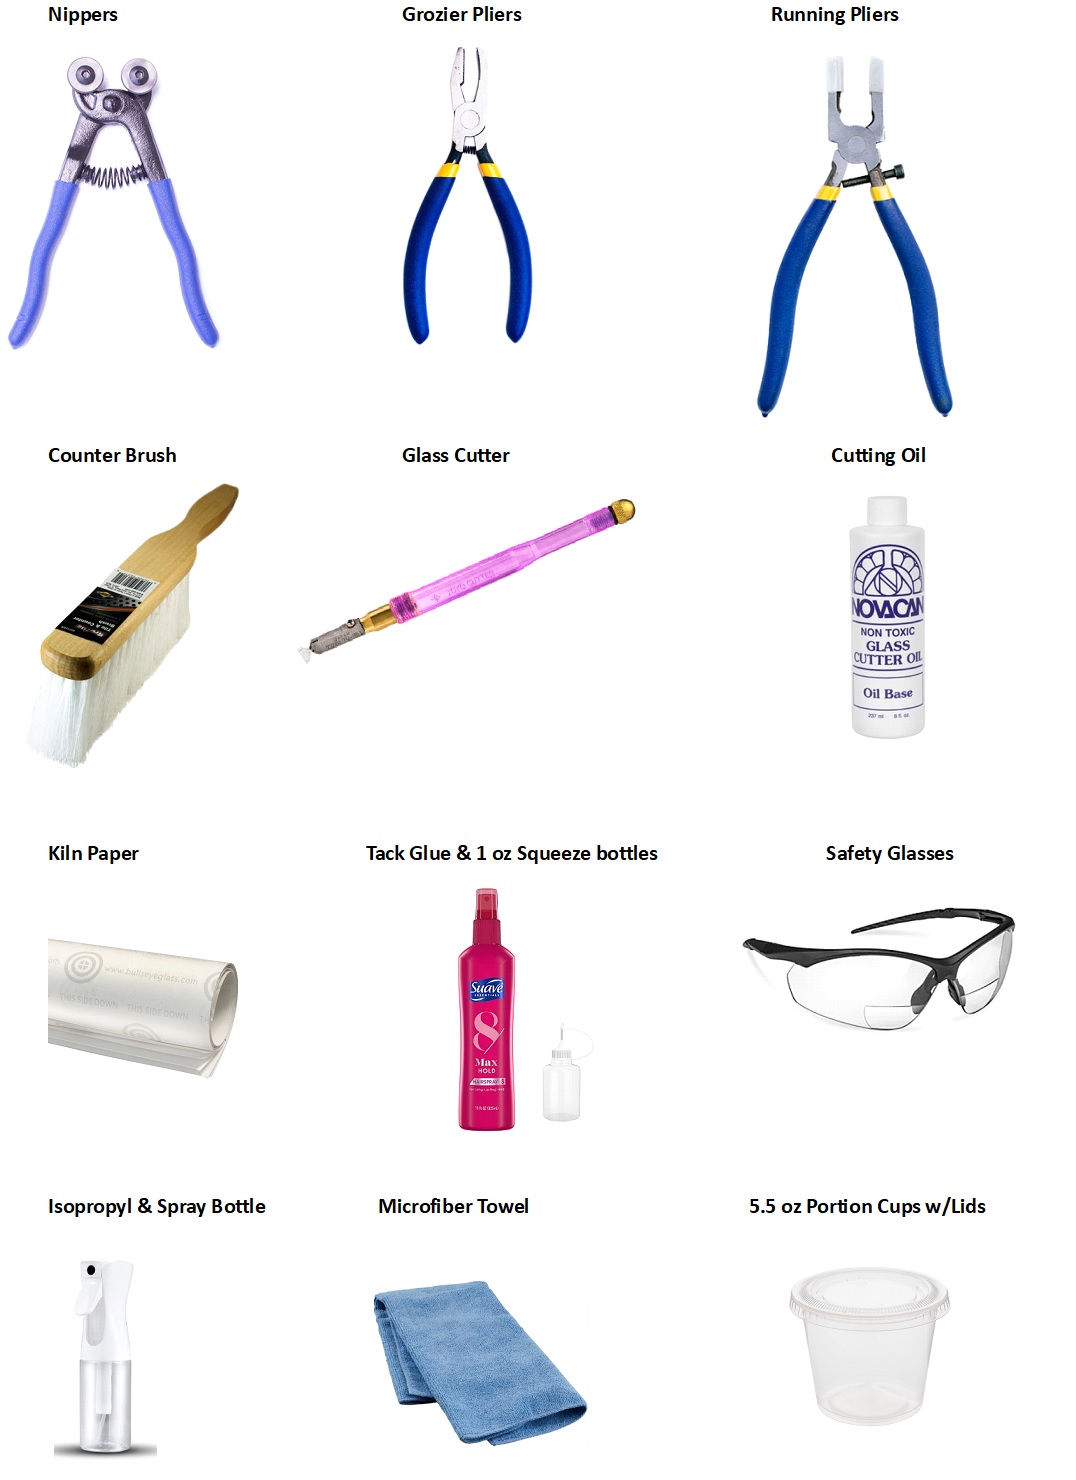
Supplies needed for class

  • Clear glass rectangle bases (or other shapes based on the project) - use 2mm thickness
    • determine cut size based on largest sheet size that gives you the most number of bases without waste
  • Multiple colors of cut glass (use 2mm thickness) , rods/dots, noodles, stringers, and millefiori
  • High temperature wire (bent in a U to sandwich between two layers of glass during fusing to create the hanger)
    • Or use Jewelry Bails and E6000 glue. Glue bails on after they have cooled from the kiln.
  • Glass adhesive (Suave non aeresol Hairspray is the best and cheapest)
  • Needle tip 1 oz squeeze bottles  (for glass adhesive)  2-3 bottles per table
  • Sturdy paper plates to spread cut glass on to allow students to choose their pieces, from buffet table
  • 2 ounce water cups (to use to carry glass back to their table) – 1 per student
  • 9” thin paper plates to hold student projects
  • kiln shelf paper
  • Metallic Sharpie Marker (to write student name on kiln paper

Sources

  • Northwest Art Glass – 9003 151st Ave NE, Redmond WA 98052 (Open Tue – Fri  10am-4pm)
    • Has a scrap bin that sells by the pound.  Or you can buy full sheets of glass in either COE.
    • Rods, stringers, noodles, and Millefiori all tend to be COE 96
  • Bullseye Glass (COE 90)– www.bullseyeglass.com Portland OR
  • Oceanside Glass (COE 96)- https://oceansidecompatible.com/ (formerly Spectrum96)
  • Amazon.com – squeeze bottles, 5oz cups, tools, heat tolerant wire, jewelry bail hangers (use with E6000 glue, instead of heat tolerant wire)
  • Costco – paper plates
  • etsy.com - Millefiori


Safety

  • Wear glasses and gloves when cutting glass
  • Dig through glass bits with a pencil and not bare fingers
  • Use hand broom to sweep away fine bits of glass, not with your hand
  • Adults only cut glass
  • Hold glass by flat sides, not by cut edges

Cutting Glass (Adults only)

  • Purchase all the glass, noodles, rods, and stringers at least a month before your first student class.
    • remember to test fire your project using the same glass students will use (for each temperature you plan to use)
  • Arrange a glass cutting party for two hours or on multiple days with your art docents and other volunteers
  • Use clear glass for the base plate. 
  • Use colored glass for 2nd and 3rd layers on project. 
  • Understand the necessity of cleaning the glass before cutting into small pieces.
    • Spray the full sheet of glass on both sides with isopropyl alcohol and dry with microfiber towel before using running pliers to break the glass. This removes sharpie, fingerprints, dust, oil and other contaminants that could lead to a filmy looking fired piece of glass.
  •  Score sheets of colored glass into half inch or one inch long pieces the full length of sheet.  Use nippers to free hand cut the strips into various shapes: squares, triangles, right angles, rectangles, isosceles triangles, etc. Cut Directly over a container to catch the pieces as they fall from the nippers.
  • Rods - Use nippers to cut quarter inch dots from rods over a tall bucket. To prevent dots from flying across the room.
  • Noodles - Use nippers to cut noodles into one inch length pieces.
  • Stringers - Use gloved hands to break stringers into various size pieces no longer than 2”.


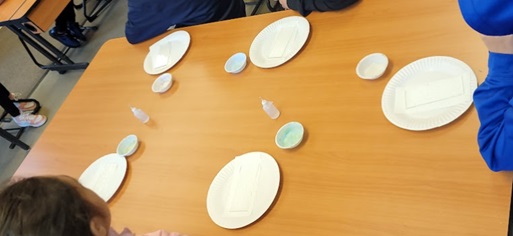
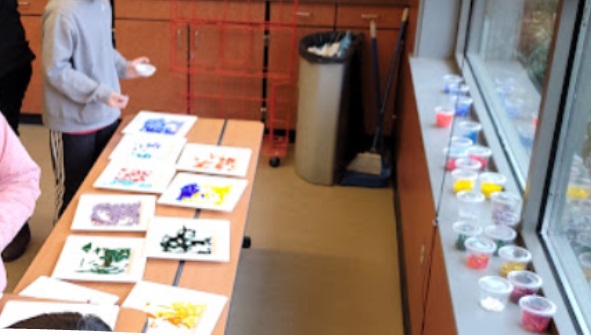
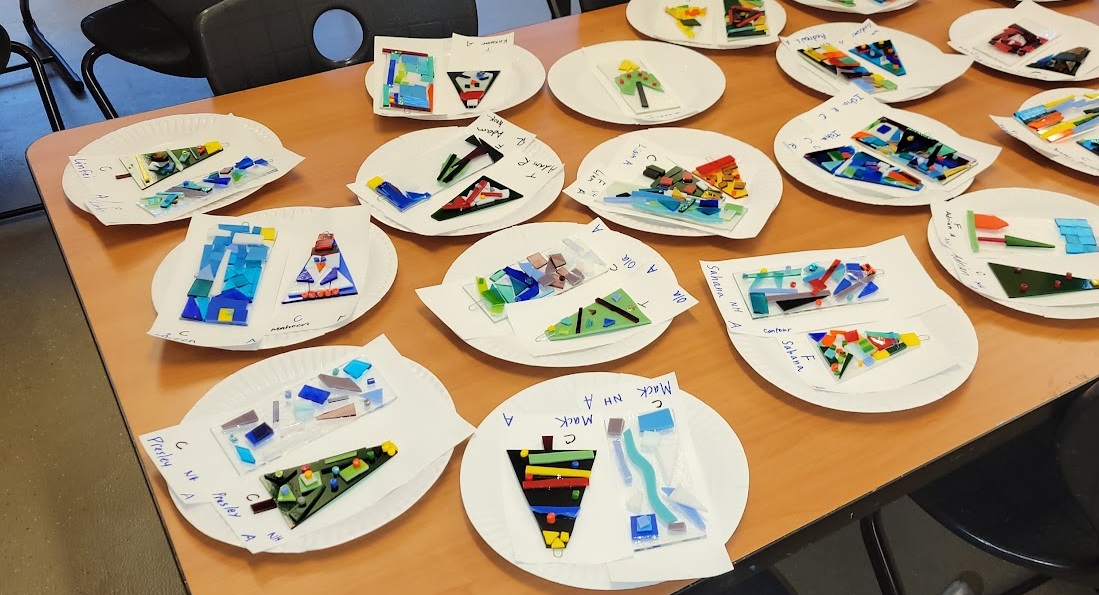
Classroom management

  • Kids don't cut glass
  • Have lots of volunteers to help students
  • Set out precut clear glass bases onto paper plates at each child's seat
  • Use small plastic water cups for students to carry glass choices back to their seat
  • Set out cut colored glass pieces on a buffet style table, invite students to come to the table in groups of five
    • If using Dichroic glass (black on one side, metallic on other side), keep separate from other iridescent glass.  Limit how many pieces each student can use.  Explain that black side is face down on previous glass layer. 
    • If using Iridescent glass, keep separate from other glass colors.  Explain to students that iridescent side is face down on previous layer or leave iridescent side up but must cover with kiln paper to keep the iridescent look.
  • Precut kiln paper to 1 1/2" wider and 1 1/2" taller than the base glass per student.
  • Write students name and teacher initials on the bottom edge of the “up” side of the kiln paper (on the edge of the kiln paper side that touches the glass, so that the name is seen when the glass base is on the paper and in the kiln)
  • If allowing students to choose tack, contour, or full fused for their project temperature, then write T, C, or F next to their name.
  • As students finish their project(s), keep the base plate on the kiln paper and use the paper plate to move the project to a place where it can dry. Don’t stack glass projects until the glue has dried completely.
  • Sort projects based on firing temperature, not by teacher.
  • Request a grade level roster from attendance secretary and mail merge labels to create return address sized or mailing sized labels with student name and teacher name.
  • Place glass projects on kiln paper on kiln shelf at least 1.5” to 2” apart from other projects, to allow them to expand as they melt/fuse.
  • Take cellphone photo of each kiln shelf after finished loading. Use photo to identify each student’s project when taking out of kiln.  Rinse glass in bucket of water to remove kiln paper dust, dry with towel, apply student’s name label to back of glass piece, and set project into corresponding teacher’s box.


Kiln Preset Programs

To fuse separate glass pieces together successfully, the pieces must be similar in expansion characteristics.  Which means, use compatible glass in the same project, that of the same COE number. 

Our Creekside Kiln has been programed for the following glass co-efficiency types and forming methods:

96 COE Glass (*used by 5th grade)

Full Fused

Glass pieces are completely conjoined into a single uniform layer. Top surface is smooth and void of dimension or relief.

Program 1   


Contour Fused

Glass pieces are fused together, edges are soft and rounded, project surface retains a degree of dimension

Program 2  

Tack Fused

Glass pieces are fused together with little deformation beyond softening or rounding of edges

Program 3  


90 COE Glass (cooler temperatures)

Full Fused  - Program 4

Contour Fused - Program 5

Tack Fused - Program 6


Resources:


The PTSA is the school's Parent Teacher Student Association. We are a registered not-for-profit comprised of parent volunteers, just like you, who help provide many programs and events at Creekside.